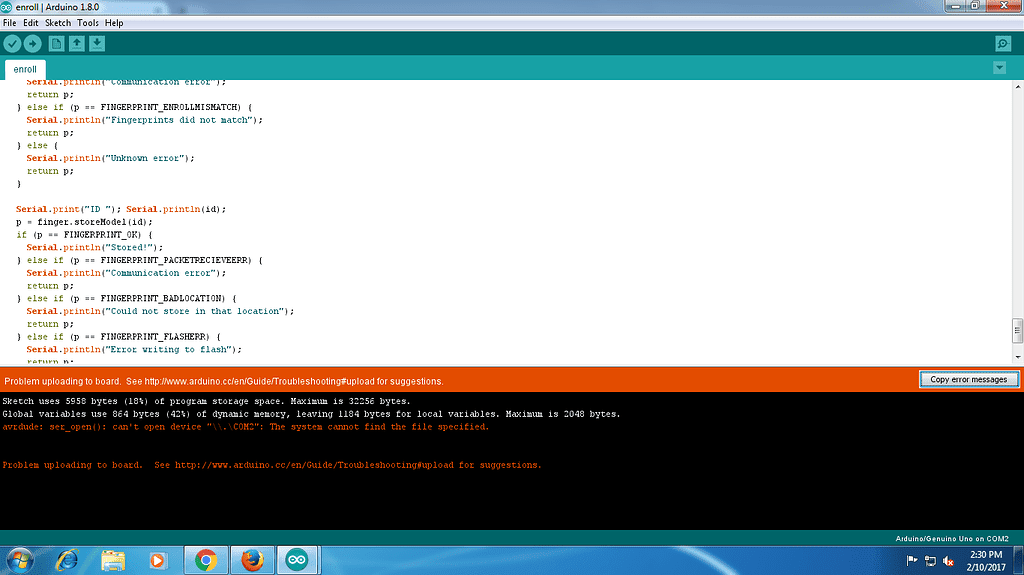
If you are using the Arduino microcontroller for your projects and somehow suddenly get prompted with the upload error, then there is absolutely nothing to worry about.
This particular error is quite common and actually quite easy to solve, given the various types of methods and ways available out there to solve the particular Arduino upload error problem.
And hence without any more further delay let us head straight to the part where we discuss how to go on solving the infamous Arduino upload error on your PC using one or many of the different methods as shown below.
Troubleshoot to fix Arduino upload errors
Here I have listed all the possible methods or ways with the help of which you can get rid of the annoying Arduino upload error message and carry on working on your project soon thereafter without any hassle.
method 1: Disable antivirus firewall
Although, an active firewall should not cause such a problem while trying to upload your programs on an Arduino platform. At times, due to recent updates or patches certain antivirus apps may block the Arduino from making any kind of changes to your PC or system.
In such cases all you need to do is either disable your Antivirus Firewall or simply try uninstalling the Antivirus app if it is from a third party source and not a default Antivirus app like Windows Defender.
You can follow the steps as shown below to do either of the two processes:
Uninstalling Third-party firewall
- For this method all you need to do is first head to your PC’s Control Panel by going to your Start menu or searching for it in your Windows search bar and clicking on it.
- Once your Control Panel window is opened, then go to Programs and under Programs and Features option, click on the Uninstall a program option.
- Now from the list of apps, browse and find the third party Antivirus app installed on your PC and then right click on it and press on the Uninstall option.
- Go through the prompted message boxes and successfully uninstall the program.
Disabling Defender Firewall
Disabling your Windows Defender Firewall or in fact your third-party Antivirus firewall is pretty much the same. However, here I’ll only show how to go on doing it on Windows Defender only which is the by default antivirus app for the most recent Windows OS.
- First go to your Windows Security app either by heading to your Windows Start button or simply searching for it by typing ‘Windows Security’ app on the Windows search bar.
- Once you have clicked on the Windows Security app and opened it, you should be greeted with a Settings Window.
- From the left pane list, click and select Windows Security and then from the right pane click on Virus & threat protection.
- Then once again under the Virus & threat protection window pane, go down and click on the Manage settings under Virus & threat protection settings.
- Now, switch off the option for Real-time protection and then try uploading your program onto the Arduino microcontroller.
Method 2: Check whether the USB cable is fixed properly
At times it so often happens that while trying to work on your Arduino board and upload programs onto it, the only reason why it may not work and such kind of an Arduino upload error may show up on your screen may be due to the reason that your microcontroller board might not be connected properly to your PC or system in the first place.
To fix such errors arising from loose USB cables, I believe the answer is pretty self explanatory. Even if the cable is fixed well according to you, still pull it once off and try replugging it tightly once again by pressing it in as much as you can.
Once you feel certain that the cable has been plugged in well, next try uploading your program to see whether the error pops up again or not.
If for some reason this too does not work and believe that the rest of the things with both your microcontroller as well as your PC is fine, then try replacing the USB cable with a different one to see whether the issue is with your particular USB cable or something else.
Method 3: Unplug and replug all board pins
This approach is more of a trial and error method to see whether some connections you made within the microcontroller board are causing the upload error or not.
Most often users have claimed that simply by unplugging connections here and there, the error seems to be taken care of.
So for this method all you will need to do is either try unplugging all the connections within the board, leaving just the USB cable connections from the PC and try uploading your program onto the board OR just give a trial and error approach in unplugging one connection at a time and trying to upload the program for each trial to see which specific connection is causing the problem.
This way even though you will lose some precious time of yours, still the root cause or that one connection which is causing the problem will be known to you.
Method 4: Try Resetting your Arduino microcontroller board
This is actually one of the very first things you can try. Although, trying it in between all the other methods do ot do any harm at all, instead helps you fix the error more easily as resetting the board often works like refreshing and re-initializing the whole device with the new changes which you might be bringing into the microcontroller to get rid of the error message.
Resetting your Arduino board is actually quite simple. Unless you are a beginner, you obviously know very well that to reset your Arduino board, all you need to do is simply press on the red button placed near the USB port unit while connected with your system or PC. And once the yellow LED light on the board blinks, your board should be resetted.
However, if for some reason the light does not blink meaning that the board has not yet been successfully resetted. Then you might need to burn a new version of bootloader firmware onto your microcontroller. You can look out for the recent Bootloader firmware by clicking on the following link.
Method 5: Make sure you have selected the right board
At times, simply not selecting the right board at the time of working on your Arduino can show such error messages on your screen. For this all you need to do is select the right board you are currently working on if not yet selected and you are good to go.
To do so, simply follow the instructions as shown below:
- Firstly, go to your Arduino IDE software and then click and open the Tools menu.
- Then, from the drop down menu list, click and select the Board option.
- From the drop down menu list, look out for the board you are currently using. Then click and select on it.
- Once that is done, try uploading your program once again to see whether the error still persists.
Method 6: Install updated Arduino drivers
Even if you do not have proper Arduino drivers or at times the latest Arduino drivers installed onto your system or PC, then too such errors may pop up on your screen while trying to upload a program onto your microcontroller board.
To fix this, all you need to do is install the necessary Arduino drivers into your PC and that should do the trick.
- For this method, the very first step you need to do is go to your Windows search bar and then type in Run and then click and open the app while your Arduino is still connected to your PC.
- Next type in devmgmt.msc in the Run window text box and click on the OK button.
- Then from the list of devices, click and expand the Other devices category.
- Under the Other devices category option, look out for the Arduino microcontroller device you are using and then by right-clicking on it, click on the Update Driver Software option.
- From the next prompted window, select and click on the Browse my computer for driver software option and then click on the Browse button.
- Then, try to locate the Arduino folder where all the important Arduino files are located and select the drivers folder from there.
- After selecting the folder, click on the OK button and then go through the prompted messages and hit the Finish button once the driver has been successfully installed.
Method 7: Make sure you have selected the right port
Similar to what we had seen earlier in the case of ‘selection of correct boards’, even in case of ports, if the wrong port is chosen then such error may show up automatically on your screen.
To get rid of errors arising from the wrong port number, you will just need to change the port number into the one you are currently using. To do that, follow the steps as mentioned below:
- Once again the very first thing you will need to do is open up your Arduino IDE and click on the Tools option.
- From the Tools drop down menu, next click and select on the Port option.
- Lastly, from the Port drop down menu list, click and select on the port you are using.
- Once that is done, try uploading your program and see whether the error message shows up again.
NOTE: All the methods mentioned above are to be used in a trial and error approach to see which one works the best for you. You can go on trying from the last to the first or vice versa and even from the middle too, as long as your error gets solved. There is no certain approach in solving the upload error message but rather trying all the troubleshooting methods as mentioned above to come to a solution.
But, for some reason even after trying out all the above methods, still the error message persists, then there might be some serious hardware problem with the microcontroller device which needs to be fixed physically in order to solve the error.
Like This Post? Checkout More