Keeping your device’s firmware updated is extremely important. There are many problems that you can face if you do not update your firmware regularly.
Often the firmware update is halted and an error occurs because your device was not able to download or install the update fully. Many users face this issue while updating their OMADM firmware.
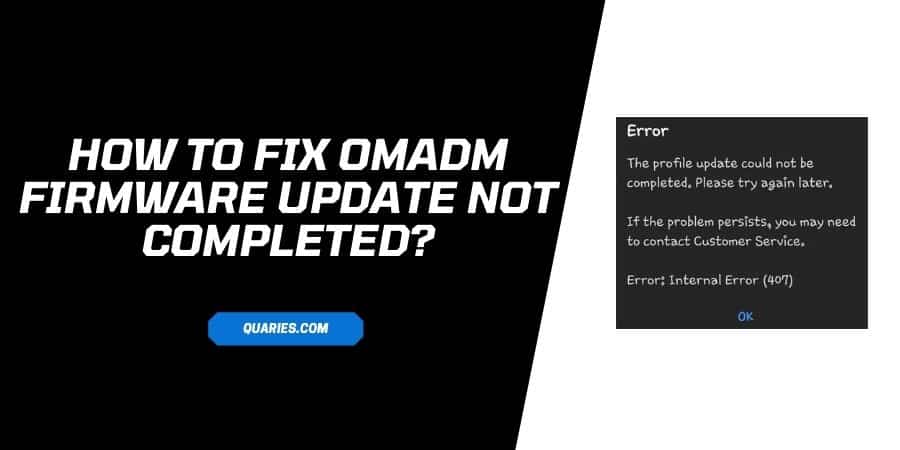
The error message would show OMADM firmware not complete or an internal error code 407. In this article, you will find ways to avoid having the OMADM firmware update problem. Please read ad execute all the steps given in this article carefully.
Quick list of fixes to solve “OMADM Firmware Update Not Completed”,
- Force Stopping OMADM Process
- Restart Your Device
- Replace Your Sim Card With An AT&T Sim Card
- Re-Insert Your Sim Card Properly
- Backup And Factory Reset Your Device
How to fix “OMADM Firmware Update Not Completed”?
Please make sure to execute the steps given in each way to solve the problem. Below you will find different ways to tackle the OMADM firmware update not completed the problem.
1. Force Stopping OMADM process
- Open the “Settings” section of your device by clicking on the Settings icon on your device.
- Now hover over to the “Apps” section in the “Settings” menu.
- After opening the “Apps” section find the “Show system apps” option and click on it.
- In this section find OMADM and hit on the option labeled “Force Stop”.
2. Restart your device
Restarting your device is very simple and usually, it ends all the processes that are running on your device. This might be a simple yet effective solution to tackle this problem.
- Hold down the power ON/OFF button till your phone switches OFF.
- Now, wait for 1 minute and restart your device by holding down the same button.
3. Replace your Sim card with an AT&T Sim Card
Often it is the case that your cellular service provider is hindering the OMADM update. To tackle make sure you are using a trusted network provider’s sim card or just simply switch over to an AT&T sim card. This solution has solved the OMADM firmware update not completed for many users.
4. Re-insert your sim card properly
Even after adopting the steps above if the problem persists, try to take out your sim card and reinsert it again to solve this issue. To do this:
- Switch off your device by holding down the power ON/OFF button.
- Now, carefully remove the sim card you are using.
- Clean the sim card and make sure to insert it back properly.
*If the sim card is not inserted properly you will not receive any network on your device.
5. Try Safe Mode
Safe mode is a very helpful feature, if you access your phone in the safe mode then it will disable all the third-party apps without uninstalling them so you can find whether the issue is because of any third-party app or not.
- Press and hold the power button.
- Choose Safe Mode.
- Just wait till your phone opens in safe mode.
- Wait for some time and check if you are still getting the issue or not.
- If you are not getting the issue in the safe mode then the reason for the issue is any third-party app.
- Check for recently installed apps, and uninstall them to fix the issue.
In different smartphone brands the steps to access Safe Mode will be little different so you can Google, how to access safe mode for your android phone.
6. Backup and factory reset your device
Performing a factory reset on your device will revert it back to the original settings with which it came from right from the manufacturer.
Hence, we advise you to make a backup of all the data on your device if you have important information on your device. After making a backup of all the data on your device follow the steps given below:
- Switch OFF your device by following the steps mentioned above in this article.
- Now, Once your phone is switched OFF, press and hold down the Volume Up and the Home button on your device. While holding these two press down the Power ON/OFF button simultaneously.
- When your device starts to reboot release your touch only from the Power ON/OFF button.
- Release all the keys when you see the Android logo appearing on your screen.
- After executing the steps above, you will find an Android System Recovery Menu on your screen.
- You can hover over to the “Wipe Data and Factory Reset” option by pressing the volume up and down buttons.
- Once you reach the option press the Power ON/OFF button to start this process.
- The system will seek a confirmation whether or not you want to execute this step. Select the option labeled “YES”.
- The process will automatically complete the factory reset of your device.
- Once the process is completed Power ON your device bu holding on the Power ON/OFF button.
Visit here for more Error Code guide.
Like This Post? Checkout More