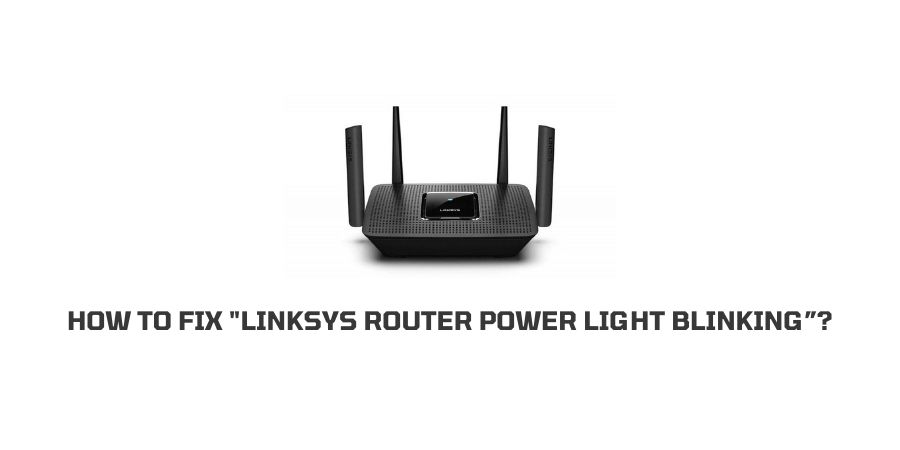
If you are seeing the “Power Light Blinking” On Your Linksys Router the issue can be alarming and you should take it on a serious note.
It is not quite usual when the Power light blinks, there can be multiple reasons for this issue, and that need to be fixed on a short note to save your device.
There can be multiple reasons for this problem, which are given below, if you trace any of them then follow the article to fix this issue.
Why Linksys Router Power Light Blinking?
- There are some temporary glitches on your Router
- Your router is self-diagnosing a test while booting up.
- Your Router has corrupted firmware or any pending firmware update.
- The router is updating new firmware.
- There are some hardware-related issues.
How To Fix If “Linksys Router Power Light Blinking”?
Fix 1: Power Cycle the router
Power cycling the router is the easiest troubleshoot to fix most of the issues of your Device and should be followed first before any other fixes.
- Unplug the power cord from the wall outlet.
- Let it unplug for one minute so it can drain out all the remaining power in the device to give it a fresh start.
- Now start your device and check if the Internet is working or not.
Fix 2: Check All The Cables
Any damaged or loose cables can also cause the issue so simply check all the cables and wires connected to the router if any of them get damaged.
If all the cables are fine and there is no damage then check if any of the cables may get loosened. To ensure that, simply unplug all cables and insert them into their place again.
Now check if your router is working fine.
Fix 3: Assign a static IP Address
- When your Router loses the ability to assign IP addresses to the computers connected to it then you should assign an IP to the Computer manually.
- Once you have assigned a new IP to the computer, you need to check the computer’s connectivity to the router via a Ping Test.
- NOTE: If you want To change your IP address to 192.168.1.1, make sure your computer is directly connected only to the router only, which basically connects to the service provider’s modem automatically.
- Ping the router: The ping test actually helps you track the communication level between your Router and Computer. A ping test simply means, your computer sends packets to the router and your router responds by giving replies to authenticate the connection.
Fix 4: Reset The Linksys Router
- To reset the router press and hold the “Reset Button” for 30 seconds.
- To locate the Reset button look at the backside of the router or at the bottom of the router.
- Once the device is shut, unplug the power cord of the Router for 30 seconds.
- Then after 30 seconds, plug in the cable back to the power outlet.
- Wait till the router fully Restarts.
- Once the device starts, you need to reconfigure the router because all the saved settings have been deleted due to reset.
- If you have Cable Internet service, click here for instructions on how to set up your router. If you have DSL Internet, then click here.
Fix 5: Update the firmware
- This issue can occur if you have any pending firmware updates or your firmware upgrade has been stuck at some point.
- You can easily check if your router is using the latest update, or if any firmware update is pending.
- The Linksys firmware can be downloaded from the Linksys official support website.
- To download and install the latest update, Find your router model and download the firmware on your desktop and unzip it.
- After following this process you should log in to the Linksys router.
- Then go to Administration.
- Choose Firmware Upgrade.
- Click on the Browse or Choose File button.
- Choose the downloaded unzipped firmware file.
- Here at this point click on “select Upgrade or Start Upgrade”. This basically depends on your router model.
- Once your firmware installation completes click on Continue.
- Then restart the router.
- Once the router fully starts check if updating firmware fixes the issue or not.
Note: In case Of any problem while upgrading the firmware then visit this guide to upgrade firmware with TFTP utility.
Fix 6: Contact Your ISP
If you have tried all of the above given methods and yet your issue is persisting then this is high time to contact your ISP support staff.
You should communicate your problem to the support staff who is more skilled and expert in ISP services and can guide you with the best resorts.
Explain your problems and they will guide you if it can be solved online. If the problem is not fixed with basic troubleshoots then they will visit your doorstep to fix the issue, in which extra charges will be applicable if not in warranty.
Like This Post? Checkout More
