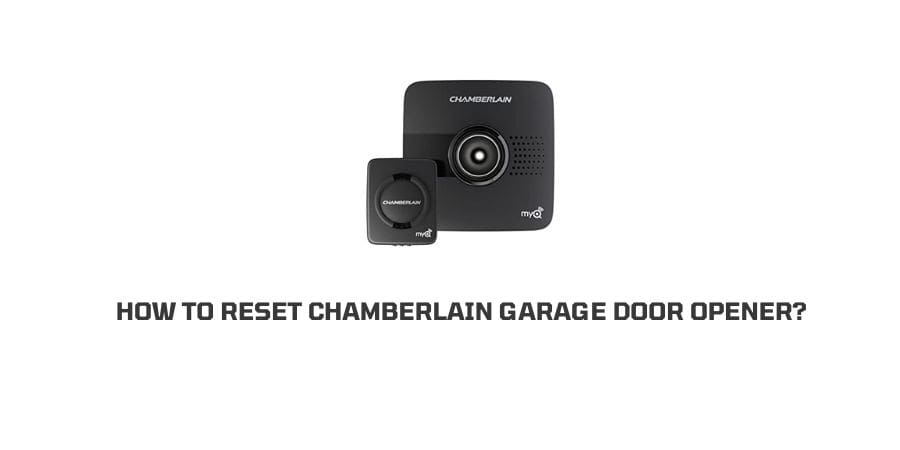
Smart Garage doors have become a fashion as well as a necessity in this technological world. It eases your day-to-day life and also gives you extra protection through advanced technology. One of the leading smart garage door brands is Chamberlain, which is quite popular.
If you have installed the Chamberlain Garage Door at your home, is it creating some issues while accepting commands, or processing the commands?
If yes then your Chamberlain Garage door needs a reset to fix the issue. Here we will discuss the ways to reset the Chamberlain Garage Door Opener to fix common issues.
How To Reset The Chamberlain Garage Door?
- First of all, locate the “Learn” button, the button can be placed up at the back of the motor housing.
- Or if you are using any latest models then it must be next to the LED light.
- Once you have found the button, press and hold the “Learn” button for ‘6’ seconds until the LED light turns off.
- Once LED lights turn off, it indicates that all your remote control codes and keyless entries have been removed successfully.
- Now to confirm the reset, use your remote control commands and check if they are responding, if not then the device has been successfully reset.
How To Reconnect your Chamberlain Garage Door remote control After Reset?
On The Latest Models
- Remove the Metal clip from your remote, you will find a small button at the back of it, in the center. (in some models, you can find this button in the front only)
- This clip is hard to press with a bare hand, use that metal clip to press the button.
- As you will press the button you will notice LED light at the front of the remote.
- Now you need to press the “Learn” button and release it immediately. This will turn on the light on “Learn LED” within 30 seconds.
- Press and leave any button on your remote control.
- Now go ahead and check if the light on the Garage Door blinks or not.
- If the light of the Garage Door is not blinking then wait for the light on the remote control to turn solid, once the same happens press and release any of the buttons on your remote control button again.
- You need to repeat this process until the light bulb blinks. Once the light button blinks, stop this process right away.
On The Older Models
Note: This process is quite similar to the new models, with some slight changes.
- Remove the metal clip from the remote, this process will unravel a “small button” at the back of your remote, in the center.
- Now use that metal clip to press the button which is quite not possible with bare hands.
- As you will press the button you will notice LED light flashing at the front of the remote.
- First of all check what is the color of your “Learn Button” on your chamberlain motor housing?
- If the Learn Button is Yellow then press any of the remote buttons for one time and release it.
- If the Learn Button is Purple then press any of the remote buttons for two times and release it.
- If the Learn Button is Red/Orange then press any of the remote buttons for three times and release it.
- If the Learn Button is Green then press any of the remote buttons for two times and release it.
- After pressing the remote button the correct number of times, now press a different button one more time on the remote, and it will turn off the LED light on the remote.
- Then press the “Learn” button on your Chamberlain motor housing and leave it immediately.
- Now press the remote button you have just programmed, and the light will blink on the opener. Then you need to press the button one more time and the garage door will act as per the command.
How To Reconnect your Chamberlain Garage Door Keypad After Reset?
- Press the “Learn Button” on the Chamberlain Garage door motor housing.
- As you will press the Learn Button you will notice An LED light flashing, which indicates that you have 30 seconds to program your Chamberlain Keypad.
- To start programming the Keypad, Enter your 4-digit code on the keypad, Now press and hold the “Enter”, button until you hear a beep.
- Leave the button when you hear the sound of the click and a light flash up on the overhead of the Chamberlain Garage Door motor housing.
- Press “Enter” and your Chamberlain Garage Door will close without any problem.
- Once the door gets closed, Enter a 4-digit code.
- Press enter after entering the code, it will help you open the gate.
Things You Should Do If You Stuck in Any Situation
In case you have followed all the above-given methods carefully, still you are unable to connect your Remote back to your Chamberlain Garage Door.
In such a situation, you can go through the manual for your Chamberlain garage door given at the time of purchase.
If for some reason you are unable to find your old product manual then you can visit here to download the e-manual.
If you don’t remember what model opener you have, simply go to the motor housing of your garage door open, here you will find a sticker on the side of the motor, which has exact information about your model number.
If you are still stuck somewhere and unable to resolve the issue by yourself, then you should Contact Chamberlain Support team.
Like This Post? Checkout More
